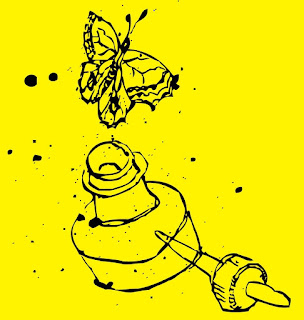
Her original was drawn with ink, but a pencil drawing is okay, too.
Scan art into Photoshop or similar program with 300 ppi resolution. The scan Joyce sent me was actually too low res, but it worked anyway.
If artwork is in pencil or otherwise lacking in contrast, use Levels to make it more black and white without losing too much detail. Save in psd, jpeg, or tiff format (others may work, but I haven’t checked them all.)
In Illustrator, open a new document and use File> Place to get the pixel artwork in there. If for some reason that doesn’t work, use Select All, then Copy (in Photoshop) and Paste into Illustrator.
Use the black arrow tool to select the artwork if it isn’t already. Go to Object> Live Trace > Options and a dialog box will open.
Put a check in the Preview box (on the right side in CS4, anyway). Tweak the various controls while looking at the image, which will update as you change the settings. Here are the settings I used:
To look at the original artwork again for comparison, uncheck the Preview box, then check it again if you want to make more adjustments.
Note that the Ignore White box is checked. This way you don't get all the white paper turned into shapes, which are a royal pain to get rid of.
Once you get the settings the way you want them, you can save as a Preset to use it every time, if desired. Even so, you might have to tweak the settings for each drawing.
Click on Trace and dialog box will close. Go to Object> Expand and the artwork is now all converted to paths. If desired, you can adjust the lines with the various tools in Illustrator.
 By default, the black lines are all Grouped so when you select a part with the black arrow, the whole thing is selected.
Copy and Paste into Photoshop. Select Paste as Pixels then hit Return to complete the Paste. If desired, add color in Photoshop.
The image shows a detail of the converted artwork, with yellow behind it so you can see the white is gone. It doesn’t give an exact copy of the original line work, but it looks pretty good, and is much, much faster than trying to draw similar artwork from scratch in Illustrator.
Hope this makes sense, let me know if you have any questions. Happy Live Tracing!


